How To Install Rolled Roofing With Nails
How To Install Roll Roofing A Path Appears

How To Install Roll Roofing Do It Yourself Pj Fitzpatrick
How To Install Roll Roofing Lovetoknow
Asphalt Sbs Roll Roofing Installation Details How To Install Roll Roofing

How To Install A Rolled Roof Ryanhomedesign Co

How To Apply Roll Roofing Diy In A Hour
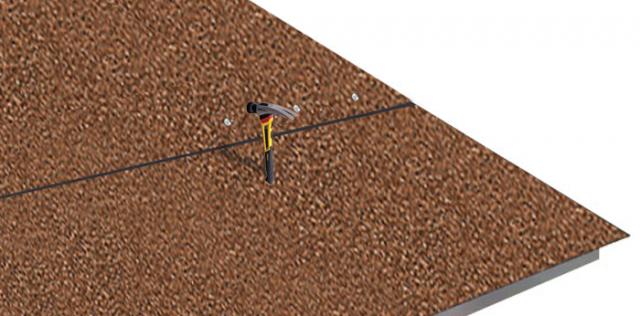
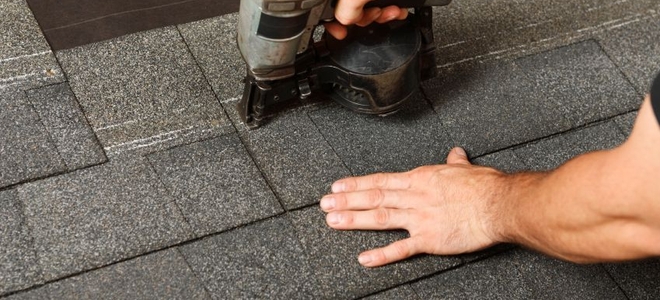
Step 6nail the first course match the overhang to the overhang of the starter strip 1 4 to 3 8 from the drip edge.
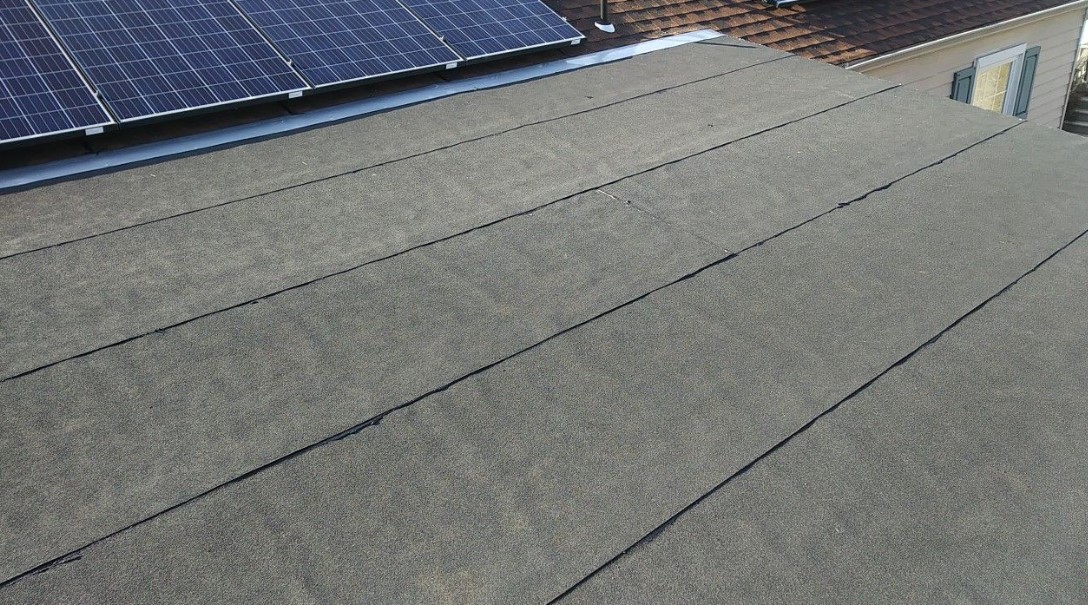
How to install rolled roofing with nails.

How To Install Rolled Roofing 4 Easy Steps Ezpzroofing Com

How To Install Roll Roofing With Your Own Hands Roll Roofing Shed Roof Felt Shed Roof

How To Install Roll Roofing With Your Own Hands Roll Roofing Flat Roof Repair Roofing

Install Roll Roofing With No Nails Doityourself Com

How To Install Roll Roofing With Your Own Hands Roll Roofing Flat Roof Fibreglass Roof
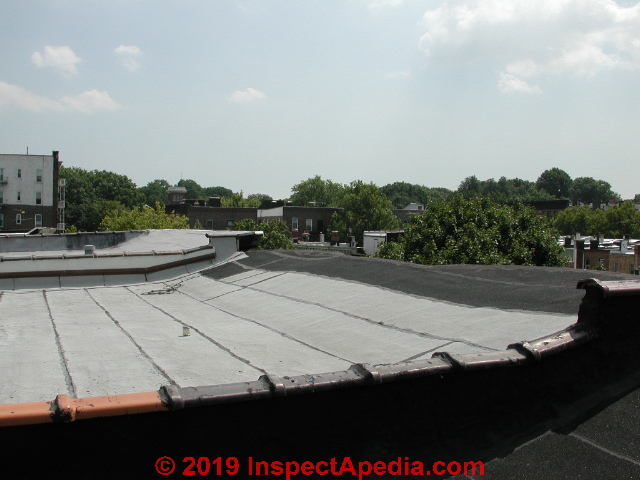
Roll Roofing Installation Asphalt Sbs Roofing Products Defects Repairs

Rolled Roofing Roof Replacement Infinite Roofing Ny

Asphalt Roll Roofing For Sale Bob Doyle Home Inspiration Exclusive Ideas Rolled Roofing Menards

Researchroofing Rolled Roofing Install Professionals Only I Think Not
9 How To Install Asphalt Roofing On A Shed

Weathermaster Tu Ultra Se Atlas Roofing
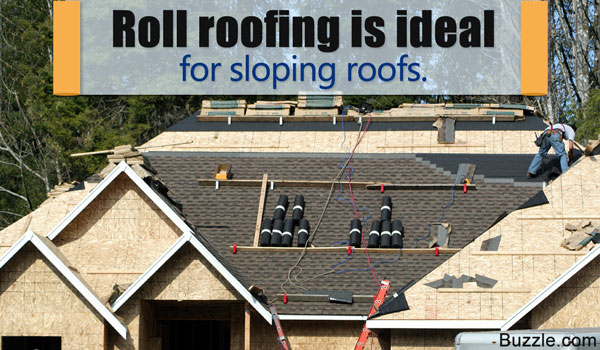
How To Install Roll Roofing

What Is Asphalt Roll Roofing Smartroof

How To Shingle A Shed With 3 Tab And Architectural Shingles Shed Roof Replace Roof Shingles Installing Roof Shingles
Http Www Quacent Com Q Images Stories Media Doc Installing 20roll 20roofing Pdf

How To Install Rolled Roofing On My Garden Shed Build Youtube

Newly Installed Asphalt Rolled Roofing For A Customer In Kettering Matched The Shingles Perfectly Dependabilityfirst Dcand Roll Roofing Roofing Shack Ideas

How To Glue Down Edge Roll Roofing Home Guides Sf Gate
Https Encrypted Tbn0 Gstatic Com Images Q Tbn 3aand9gcqjkko8nkm53uda0tqsqokgeiud1jh De9ily1gzmetu66zan7e Usqp Cau
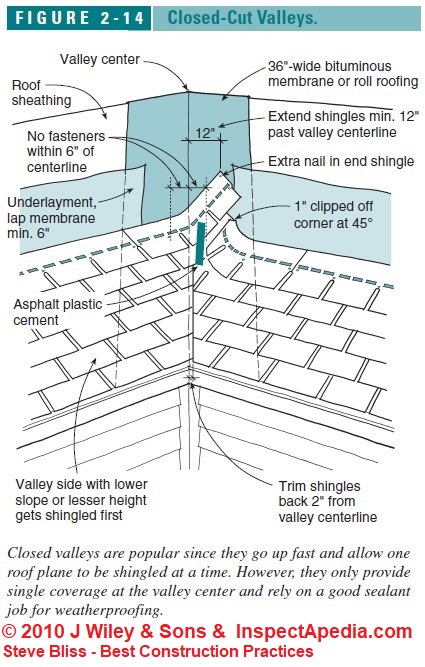
Roof Valley Flashing Specifications And Details

How To Install Roll Shingle Roofing Modelings Co
Asphalt Roll Roofing Vs Asphalt Shingles Doityourself Com

Article About Installing Ridge Cap Shingles And Special Top Row Shingle Layout Details Ridge Cap Roof Problems Roofing

Pattern Of Roof Shingles During Installation Roof Shingles Asphalt Roof Architectural Shingles Roof
Source : pinterest.com
